Animation &repeated posts &Story & Storyboards 30 Apr 2013 06:38 am
Dragon Fight – Seq 19 the end.
My apologies, I should have included this page among those from the Sleeping Beauty battle which I’d posted yesterday. This concludes the dragon fight.
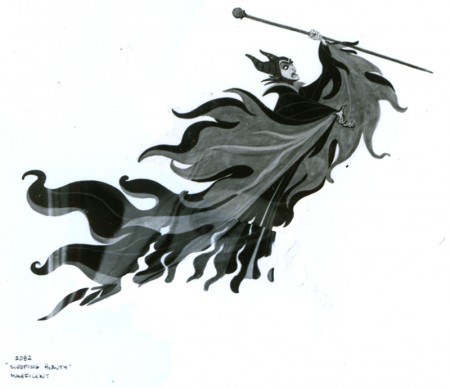
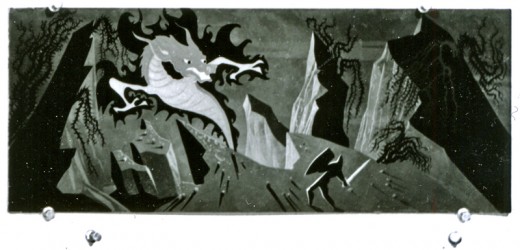
- This is the final photo/page of the Ken Anderson board for Sleeping Beauty. John Canemaker loaned me the series (which I’d posted in June of 2006) that includes Sequences 18 & 19 of the film. They’re the climax of the film – Prince Phillip’s battle with the thorns and the dragon, ultimately killing off Maleficent.
This is the whole photo as is:
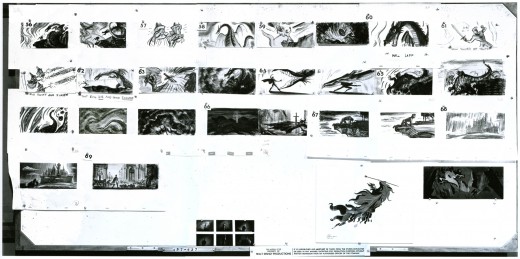
(Click any image to enlarge.
Here, I’ve broken the photo into rows cutting the rows in half. This way I can post them as large as possible for viewing.
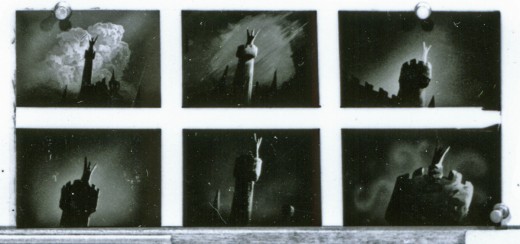
These last are tiny thumbnails at the base of the photo.
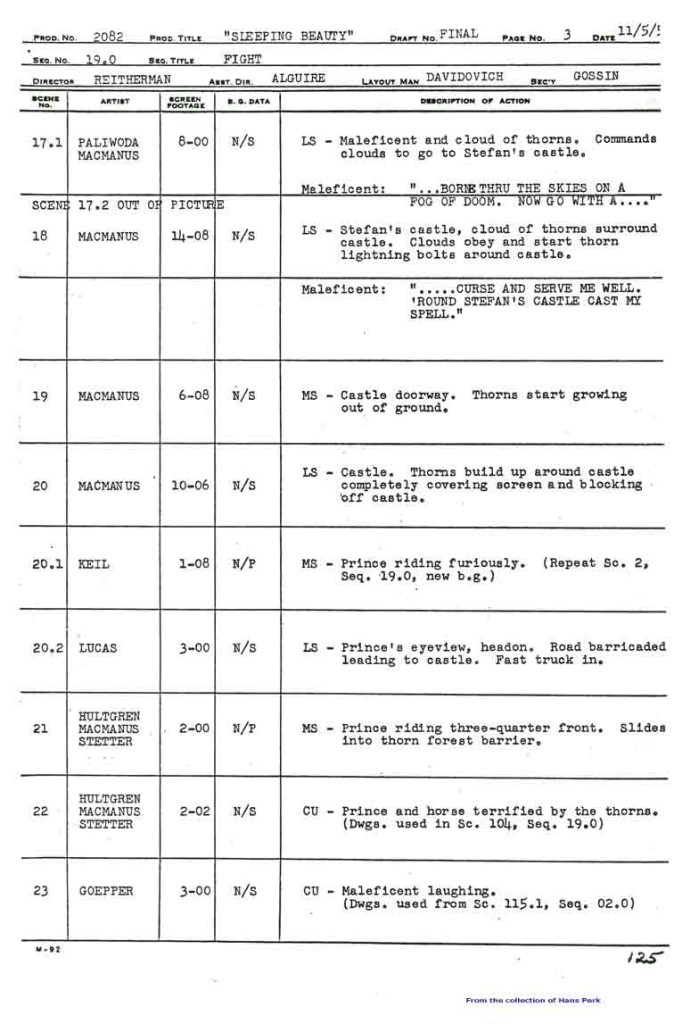
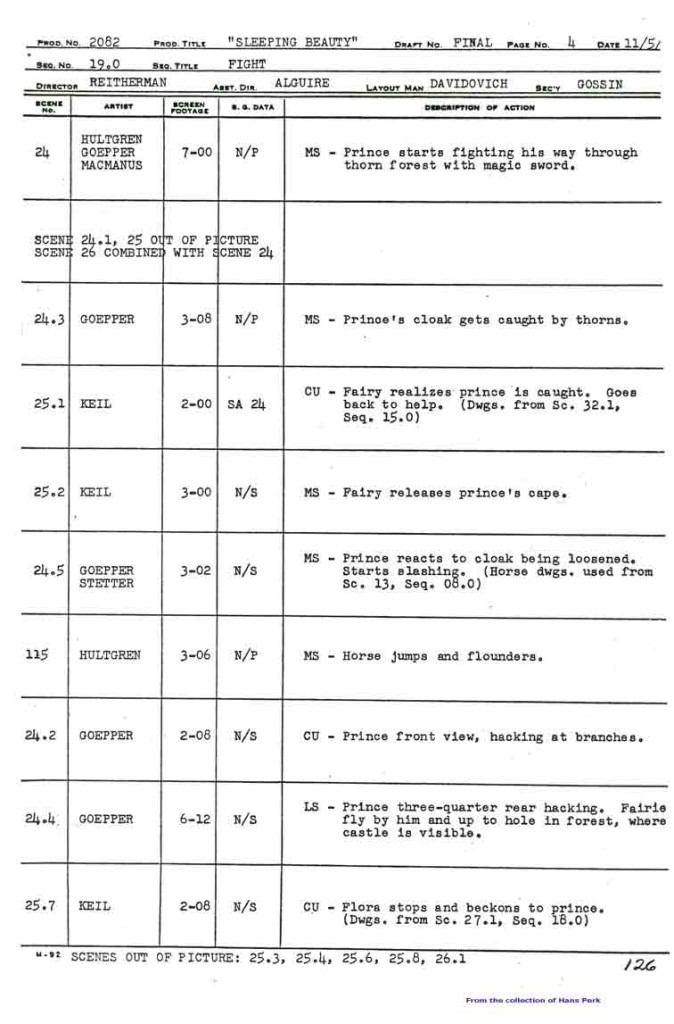
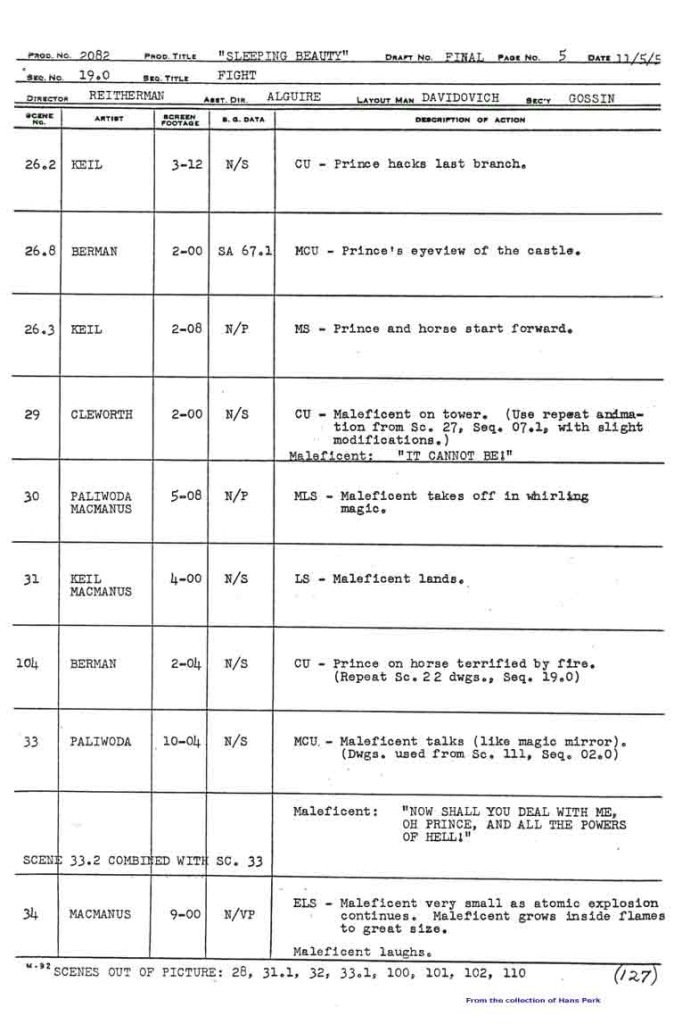
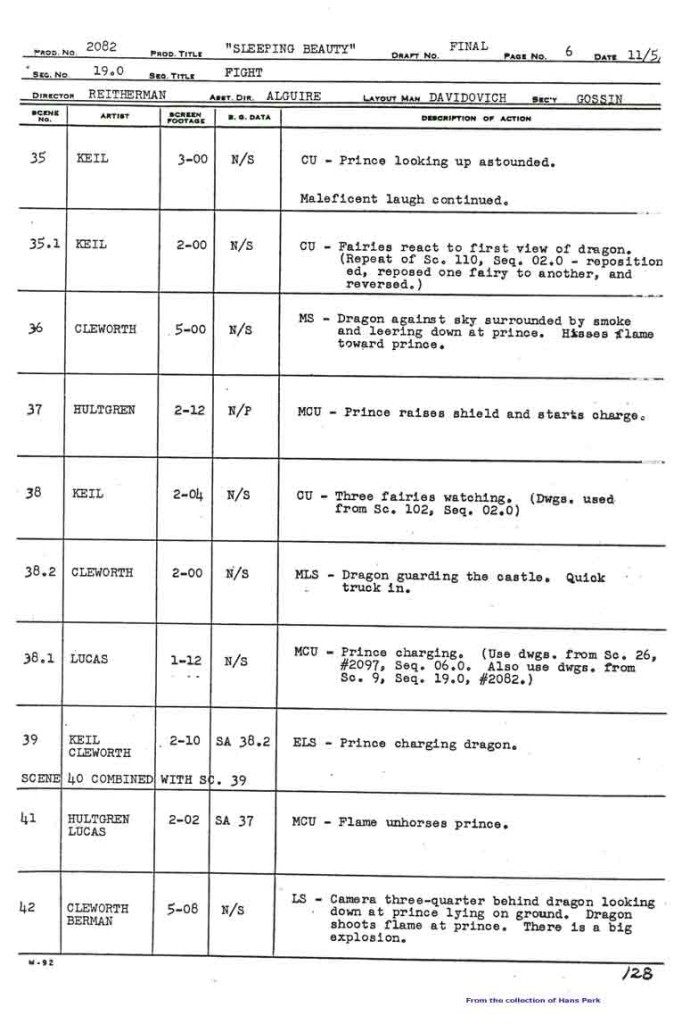
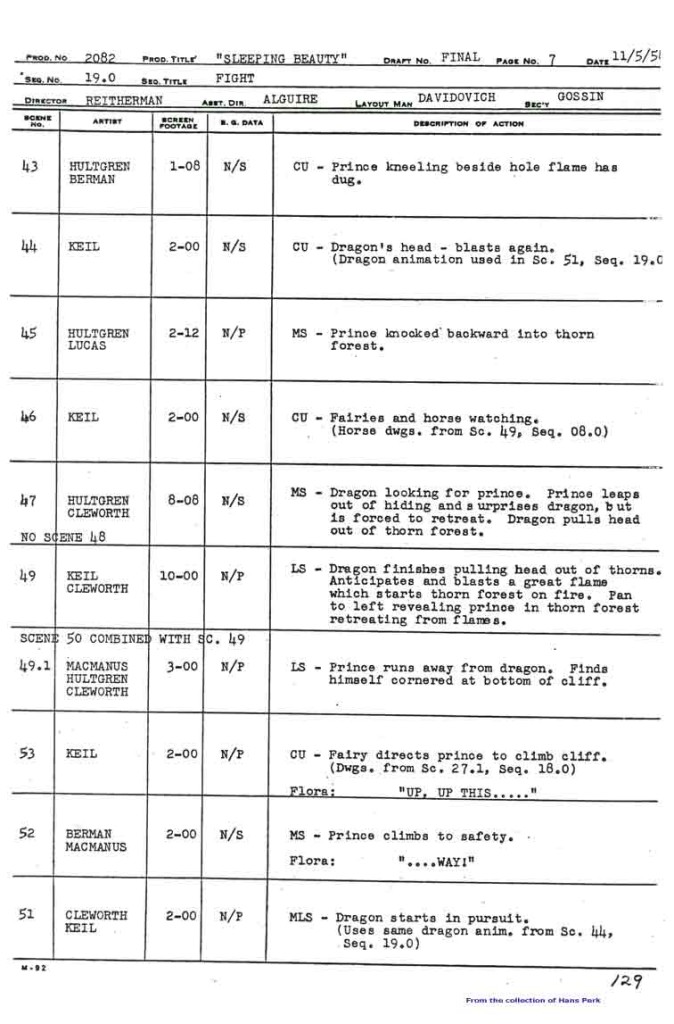
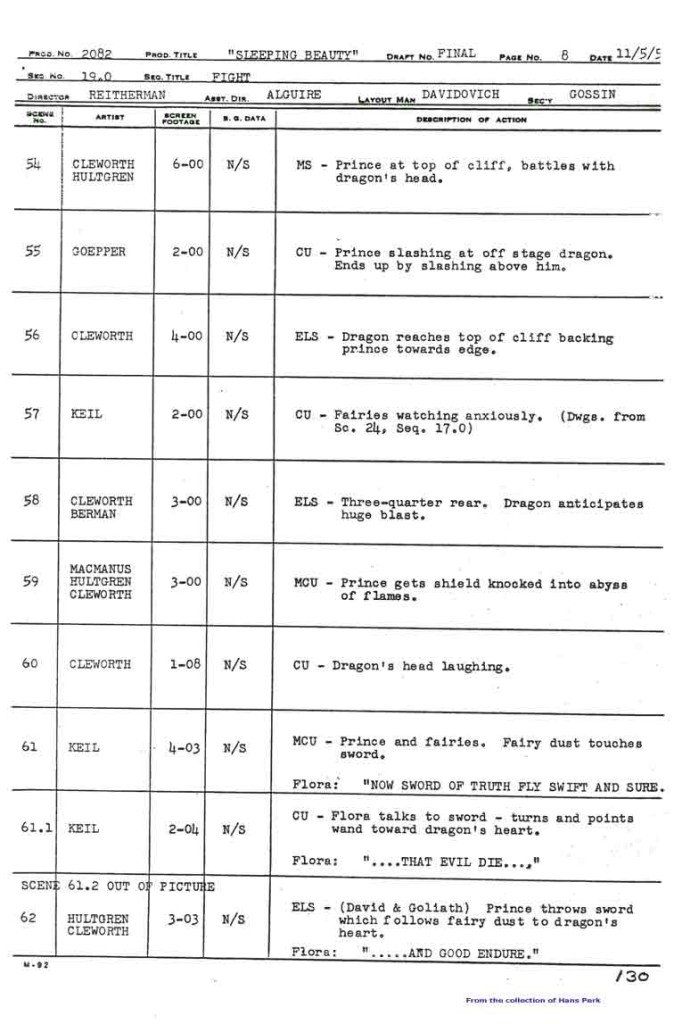
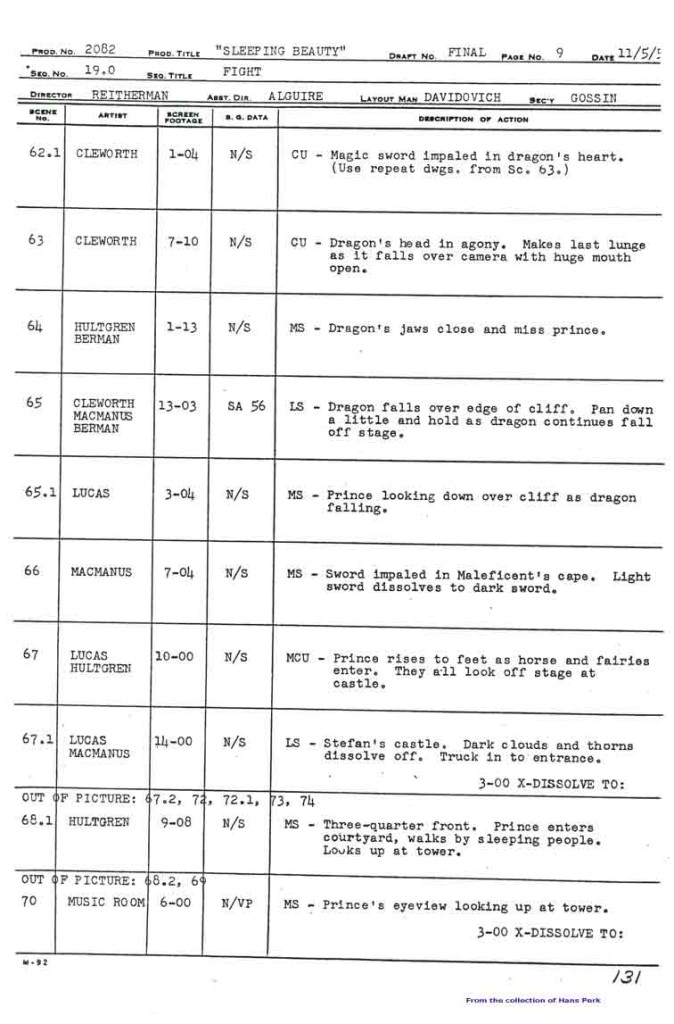
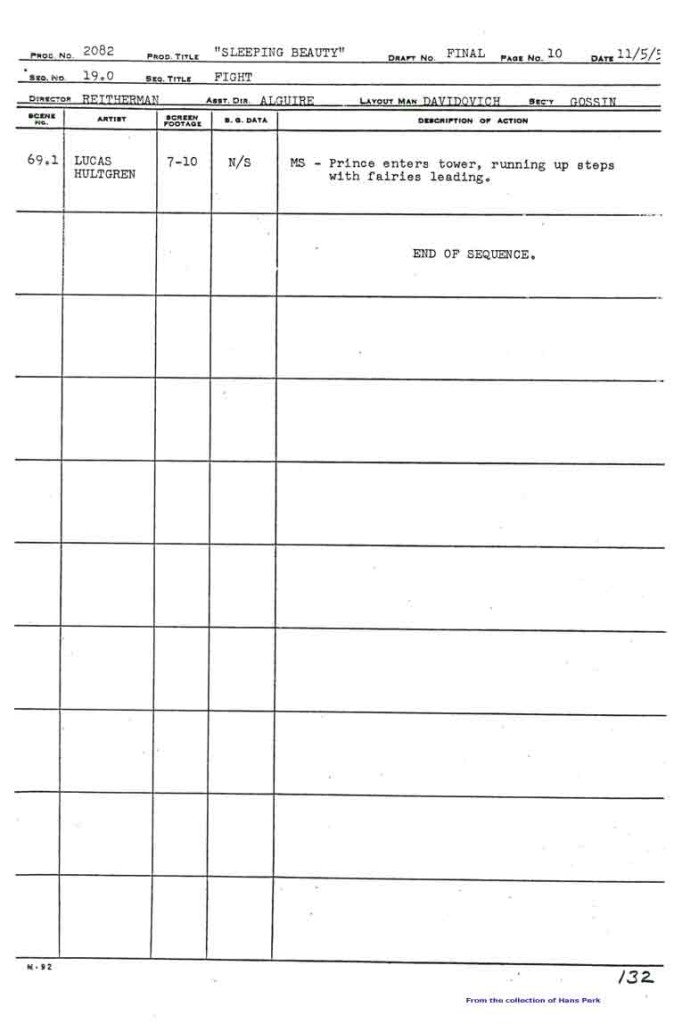
Here are the pages of the animator’s draft to inform you as to who animated the scenes of sequence 19:
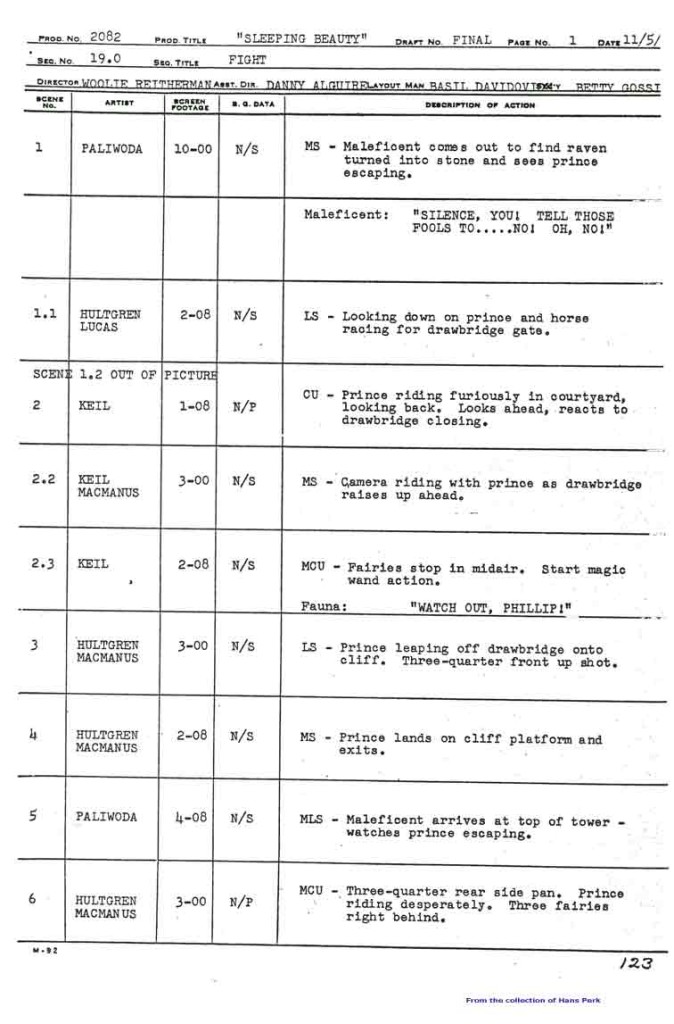 1
1 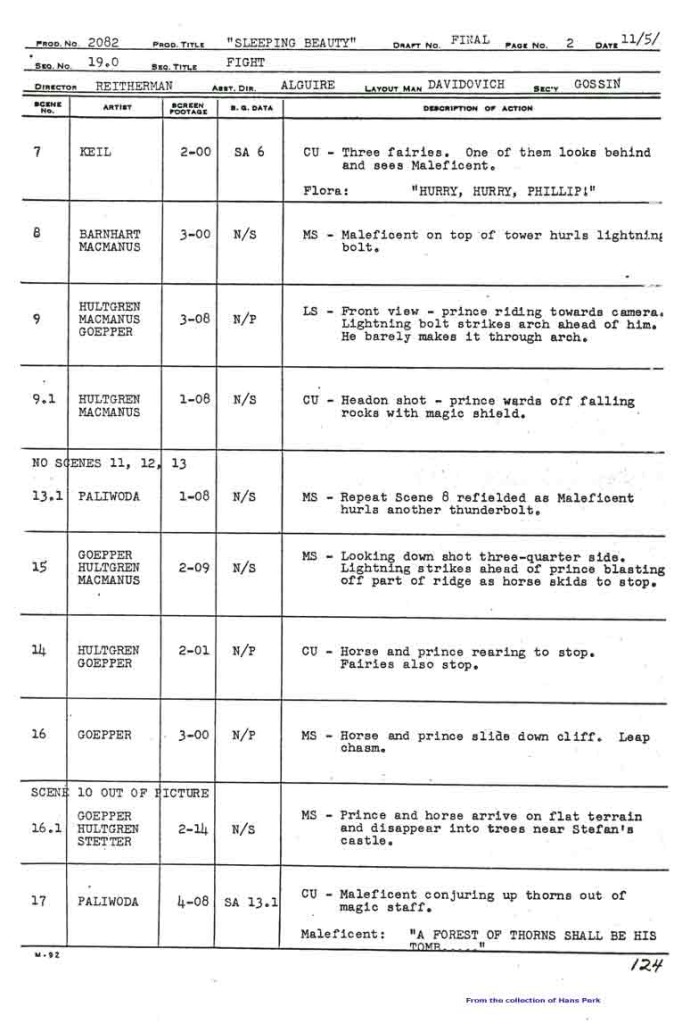 2
2
Many thanks also to Hans Perk who, on his blog A Film LA, has posted the animator drafts of this film (like so many others he’s shared with his readers). None of this work could have been done without that reference.



on 30 Apr 2013 at 11:10 am 1.Joel Brinkerhoff said …
When I was a kid I had a Super8 color reel of this sequence and would look at it frame by frame on my little editor. I loved the lightening bolt flash frames of just the bolt against black and then a negative frame of white with a black blot. Very affective! I also dug the way the fairies would fly into a scene, stop and drop a little before their wings kept them airborne and the sparkle contrails on everything. Great memories.
on 30 Apr 2013 at 11:22 am 2.Peter Hale said …
I’ve always had a problem with the layout of this sequence, in that the Dragon has driven Philip to the far end of a spur of rock – so that when the Dragon falls forward, and the spur appears to collapse under her, dropping her body to the ground below, there is no way that Philip could have got back to safety.
So I was keen to see the board for the sequence, to find out how it had been planned.
Now I see it seems to have been a bit of a fudge – the Dragon is shown rolling sideways off the ledge. This lacks the drama of the final version, and is the sort of weak boarding that I suspect Walt would have picked up on in earlier productions. Was this the final board for the sequence, and if so, who decided on the more dramatic, if illogical, collapse of the spur?
On looking at the screengrabs online I can see she does indeed roll sideways as the storyboard shows, but the collapsing rocks definitely give the appearance that the spur is disintegrating. Is it just an illusion caused by the effects animation – too much rock falling, too much fire concealing the solid ledge? Or did the first attempt lack drama, requiring the scene to be beefed up?
on 30 Apr 2013 at 7:10 pm 3.Nat said …
These sort of posts need to be seen more by the general public. All of the hard work and collaboration between people on films is something to be greatly admired.